How to Safely Jump Start an EV 12V Battery

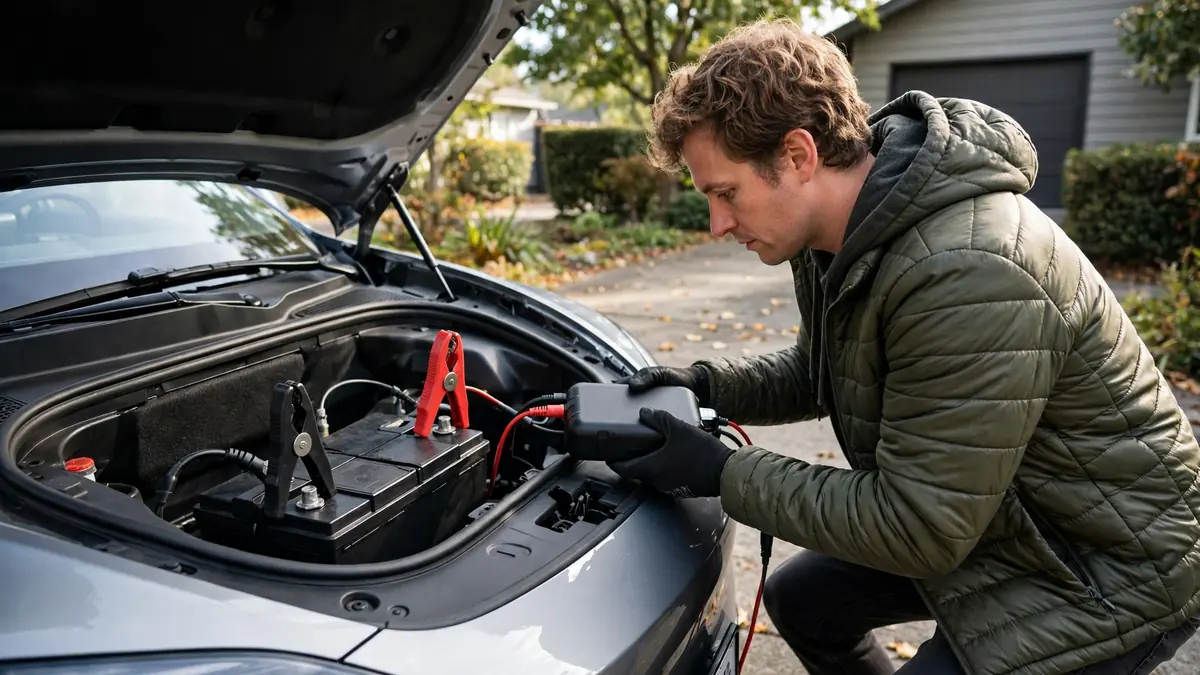
Your EV’s 12V battery died, or you think it might be close to dying. This guide walks you through the complete, safe process of jump-starting an EV’s 12V battery, with step-by-step instructions, the exact terminal locations for popular models, and what to do immediately afterward.
This guide belongs to our EV won’t start or power on section. For the full overview, see What to Do If Your EV Won’t Power On.
The Short Answer
To jump-start an EV 12V battery: locate the dedicated 12V jump terminals (in the frunk, under the hood, or near the fuse box, never the charging port), connect a portable jump starter or jumper cables in the correct order (red to positive, black to chassis ground), wait 3 minutes, then start the car. Drive directly to replace the 12V battery the same day.
Before You Start: Safety First
EV jump-starting is safe when done at the 12V level. There are two rules you must follow:
- Only use the 12V terminals. These are the small terminals labeled + and – near the fuse box, frunk, or under-hood area. They look like conventional car battery terminals.
- Never touch anything orange or connected to the charging port. Orange cables and connectors carry high voltage (400–800V). Even touching the outer housing of an orange cable in a live system is dangerous.
Beyond these two rules, the process is identical to jump-starting any conventional vehicle.
What You Need
- Best option: A portable lithium jump starter rated for 12V vehicles (NOCO Boost, Clore SOLAR, or similar). These are compact, keep a charge for months, and work without a second vehicle.
- Alternative: Standard jumper cables and another vehicle with a working 12V battery
- Your EV’s owner’s manual (to confirm terminal locations)
Step-by-Step Jump-Start Instructions
Step 1: Locate the 12V jump terminals
This is the most important step. Do not skip the owner’s manual. 12V terminals on EVs are in non-obvious locations. Here’s where to find them on the most common models:
| Vehicle | 12V Terminal Location |
|---|---|
| Tesla Model 3 / Model Y | Inside frunk, left side, pull back the fabric and snap off the plastic cover |
| Tesla Model S / Model X | Under the front hood near the windshield washer reservoir |
| Chevy Bolt EV / EUV | Under the hood, driver’s side, near the fuse box |
| Nissan Leaf | Under the hood, passenger side, standard battery position |
| Hyundai Ioniq 5 | Frunk, driver’s side, red + terminal under a protective cap |
| Kia EV6 | Under the hood, passenger side, behind plastic cover |
| Ford Mustang Mach-E | Under the hood in the frunk area, red + clearly marked |
| Ford F-150 Lightning | Under the hood, passenger side, red + cap visible |
| Rivian R1T / R1S | Under the front hood access panel, passenger side |
| Volkswagen ID.4 | Under the hood in the fuse box area, see owner’s manual |
| BMW i4 / iX | Under the hood, driver’s side, look for + terminal with red cover |
| Audi e-tron / Q4 | Under the hood, passenger side, labeled + and – |
| Polestar 2 | In the frunk area, see owner’s manual for exact position |
| Mercedes EQS / EQE | Under the hood, near the fuse box, see owner’s manual |
Step 2: Set up your jump source
If using a portable jump starter: Make sure it is charged (most have an indicator light or display). Leave the clamps disconnected from each other while you position them.
If using a second vehicle: Park the rescue vehicle close enough for cables to reach, but not touching the EV. Turn the rescue vehicle OFF. You don’t need the engine running to provide jump start voltage at the 12V level.
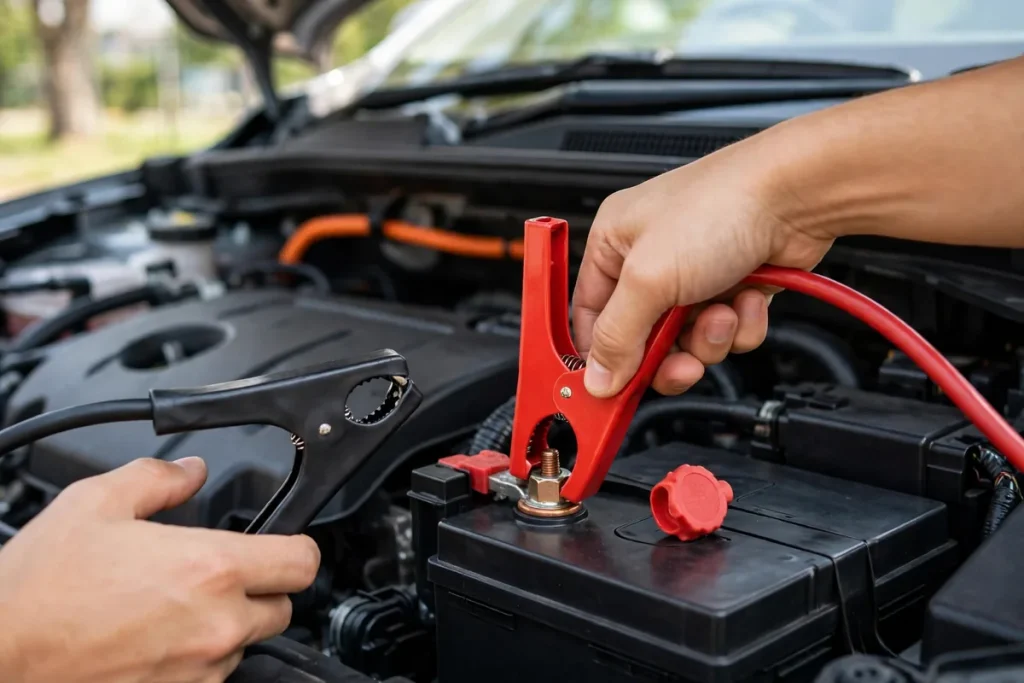
Step 3: Connect in the correct order
This order matters, follow it exactly:
- RED clamp → EV’s positive (+) 12V terminal, the terminal with the + symbol or red cover
- RED clamp → jump source positive (+), other end of the red cable to the jump starter or rescue vehicle’s + terminal
- BLACK clamp → jump source negative (–), black cable to the – terminal of the jump starter or rescue vehicle
- BLACK clamp → bare metal ground on the EV chassis, do NOT connect to the EV’s 12V battery negative terminal. Instead, clamp to a metal bracket, bolt, or unpainted metal surface on the chassis away from the battery. This reduces risk of sparks near the battery.
Double-check that no clamps are touching each other or anything other than their intended connection points.
Step 4: Wait 2–3 minutes
Don’t rush this. The EV needs time to receive enough charge to boot its electronics. Within 1–2 minutes you should see the dashboard display begin to illuminate if the connection is correct. If nothing happens after 3 minutes, double-check your connections.
Step 5: Start the EV
Press the brake pedal firmly. Press the Start/Power button (or shift to Drive on models without a start button). The car should power on normally. The main battery percentage will display at whatever level it was before, the main pack hasn’t changed.
If the car doesn’t start: wait another 2 minutes and try again. If it still doesn’t start, check the connections and ensure the positive clamp is making solid contact with the terminal.
Step 6: Disconnect in reverse order
Remove cables in the opposite order you connected them:
- BLACK clamp from EV chassis ground
- BLACK clamp from jump source negative
- RED clamp from jump source positive
- RED clamp from EV positive terminal
Close all covers, the frunk, or the hood as applicable. Close the charging port door if it was opened.
Step 7: Drive to replace the 12V battery: today
A jump start is not a fix, it’s a temporary restoration of power to a failing battery. Drive directly to a dealer, auto parts store, or mechanic and have the 12V battery tested and replaced. Do not turn the car off until you arrive. If you turn off the car, you may not be able to restart it without another jump start.
What to Do If Jump-Starting Doesn’t Work
If the car still won’t start after a correct jump-start attempt:
For a related problem, see Why Won’t My Electric Car Turn On?.
- Check that the positive clamp is making solid metal contact, corrosion on the terminal can block the connection. Clean the terminal with a dry cloth and try again.
- Try holding the jump connection for 5 minutes instead of 3
- If still nothing, the issue may not be the 12V battery, a contactor failure, BMS fault, or other hardware problem may be preventing startup
- Call roadside assistance and request a flatbed tow to the nearest authorized dealer
Replacing the 12V Battery After a Jump Start
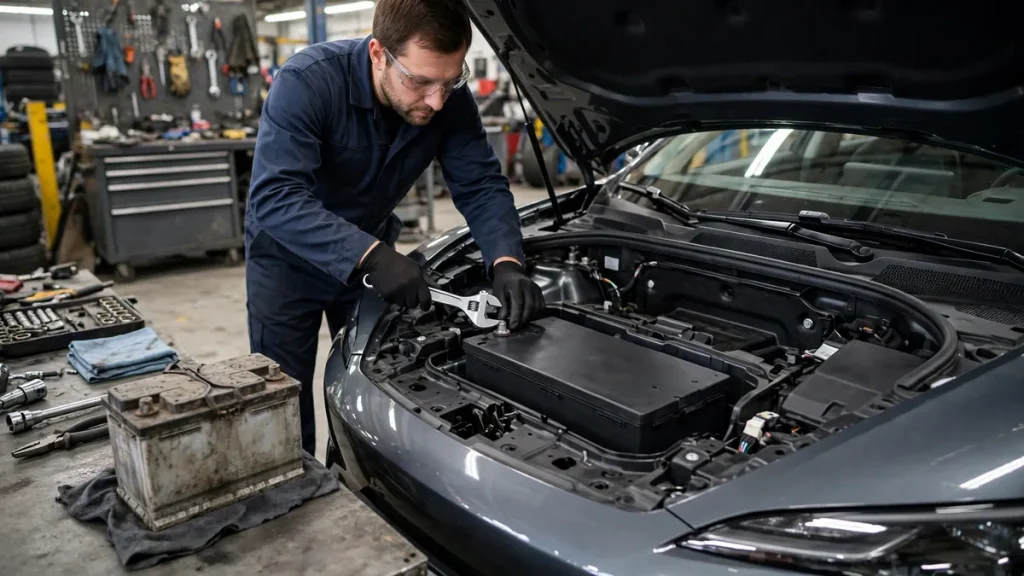
Most EV 12V batteries are standard AGM (Absorbed Glass Mat) lead-acid batteries. They range from $80–$200 depending on the brand and size. Labor at a dealer adds $50–$150. Many EV owners replace the 12V battery themselves, it’s usually accessible from the frunk or under the hood with standard tools. Check YouTube for a model-specific video guide.
Newer EVs (some Teslas, some BMWs) use a small lithium 12V battery. These cost more ($200–$400) but last longer and are less prone to failure. Make sure you buy the correct replacement type for your specific model year.
FAQs
How long does jump-starting an EV take?
Physical setup takes about 3–4 minutes. You then wait 2–3 minutes for the electronics to power up. Total: under 10 minutes from cable connection to the car starting.
Can I damage my EV’s main battery by jump-starting the 12V?
No. The 12V system and the main high-voltage system are electrically isolated from each other. Jump-starting the 12V only affects the 12V circuit. The main battery is completely unaffected by anything you do at the 12V terminals.
What jump starter should I buy for my EV?
Any lithium jump starter rated for 12V passenger vehicles works. Look for at least 1,000 peak amps for larger vehicles like the Rivian R1T or F-150 Lightning. For smaller EVs like the Leaf or Bolt, 600–800 peak amps is sufficient. Well-regarded brands include NOCO, Clore SOLAR, Tacklife, and Ampeak.
Conclusion
Jump-starting an EV’s 12V battery is safe, quick, and straightforward when you use the right terminals and follow the correct connection order. The most important thing is locating the dedicated 12V jump terminals, not the charging port, not the orange high-voltage cables. Once you’ve jump-started and the car is running, drive directly to have the 12V battery replaced. A jump start is a 10-minute rescue, not a permanent fix.